Even wonder how Shoyu, an indispensable condiment in every Japanese household can also be replicated at home? Learn how you can easily elevate and add an accent to any dish with our guide to making homemade Shoyu. Keep on reading to find our more!
What is Shoyu?
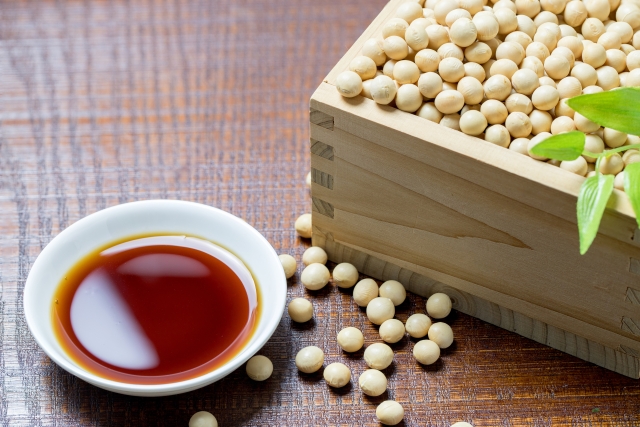
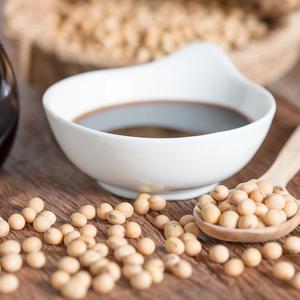
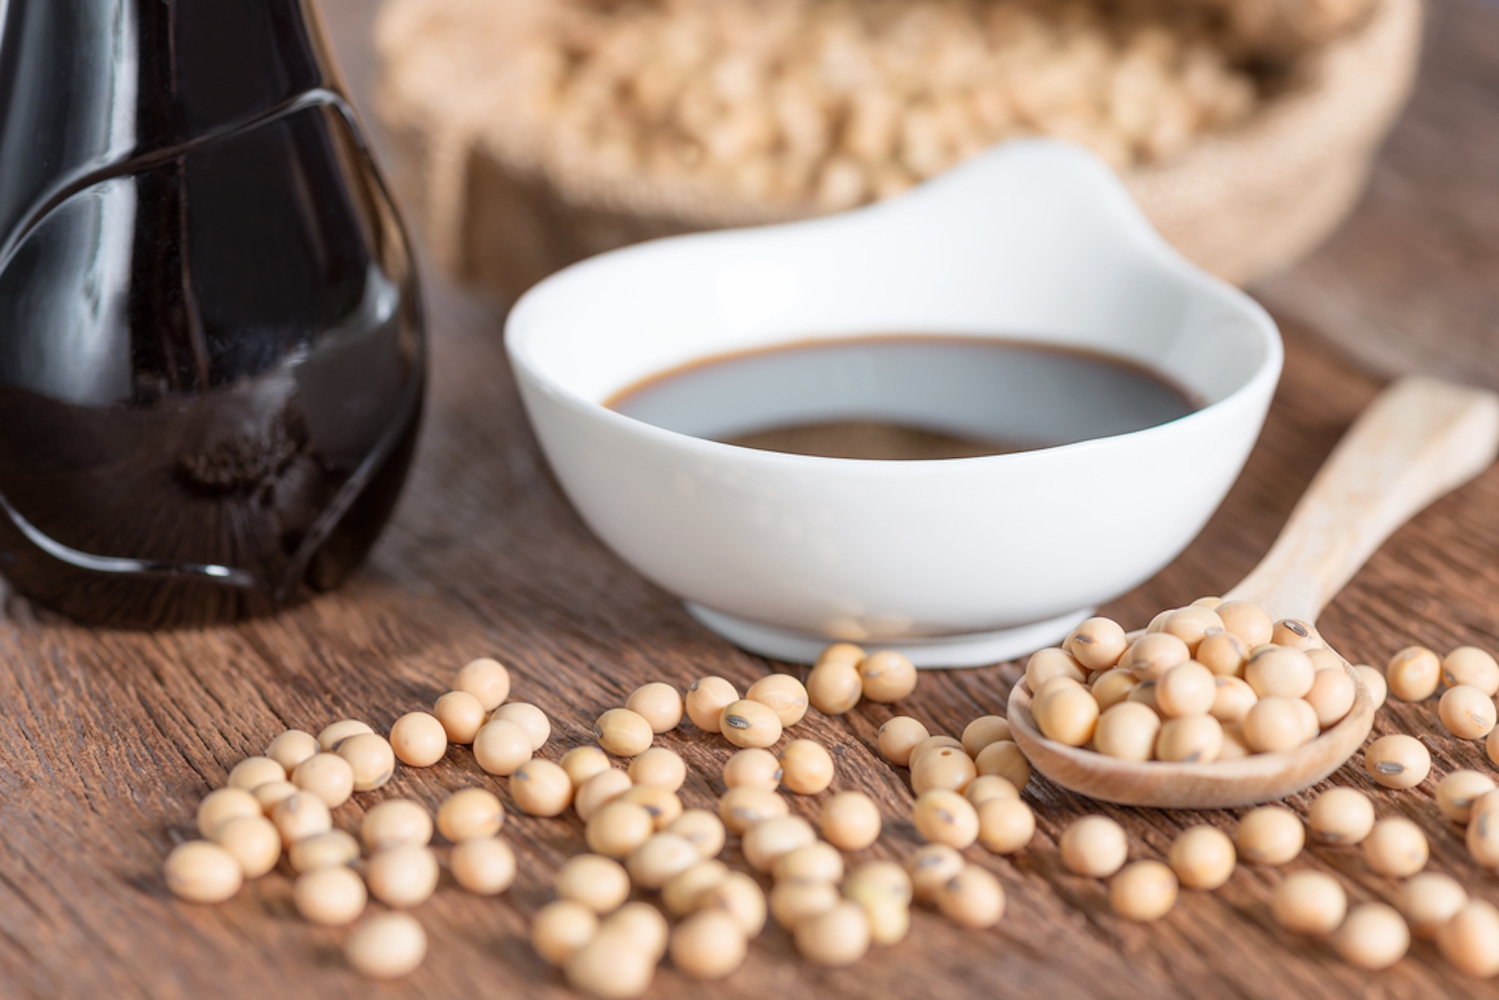
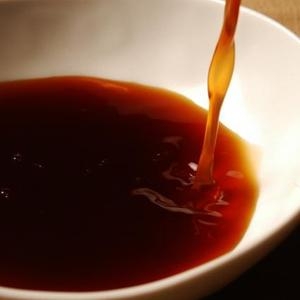
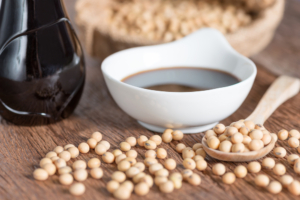
Soy sauce is a staple companion for seasoning not only in Japan but also in many Asian countries. It is made by fermenting and filtering the raw ingredients such as soybean, wheat and salt into a liquid form condiment. Fermentation takes place with the help of Koji, which is malted rice necessary to create delicate flavors of Japanese soy sauce.
Based on the fermentation period, quality of ingredients, brewing environment and craftsman skills, the production of Shoyu varies. They are usually characterized by five tastes: umami, sweet, salty, bitter and sour. Most Japanese cuisine uses soy sauce for its defining taste along with mirin and sake. Figuratively, the absence of soy sauce in Japanese cooking is like cooking Italian cuisine without olive oil. Throughout Japan, people enjoy different taste of Shoyu. People in Kyushu and Hokuriku areas have deep roots of savoring sweet soy sauce, that is amakuchi soy sauces. On the contrary, those in Kanto area prefers dark soy sauce whereas the Kansai population enjoy thin soy sauce (usukuchi). Towards the south in Chubu region, the production of Tamari Sauce and light soy sauce are abundant. The following section of the article will unveil how we can replicate Japanese Shoyu (soy sauce) at home.
Shoyu Substitutes
Here are some alternatives to shoyu for those who suffer allergies to soy, or reaching out for gluten-free shoyu!
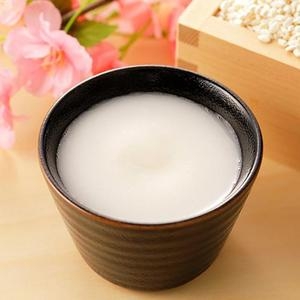
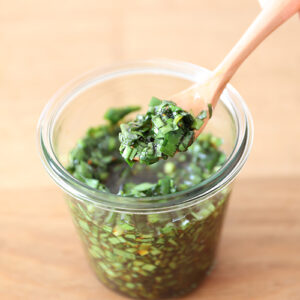
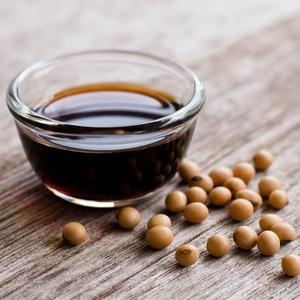
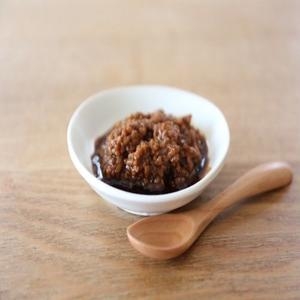
While these substitutes may not fully replace the savory profile and umami goodness of traditional soy sauce, we say it’s worth the try. Tamari Sauce is an excellent gluten-free substitute for Shoyu. Instead of wheat, tamari sauce uses rice for its brewing process and is vegan friendly. Worcestershire sauce is made with garlic, onion, tamarind, molasses, white vinegar, anchovies and other ingredients, resulting in the balance of tangy, savory and sweet flavor all at once. Usually reserved to vinaigrettes, there are in fact more than one use for umeboshi vinegar. It contains about 20% salt and about 4% citric acid producing a lovely tartness and tanginess which often tastes sour and salty. Another option to substitute Shoyu for its salty umami-rich flavors is miso paste. Like Shoyu, the savory and high-protein seasoning is fermented with salt and koji, sometimes added with rice, barley, seaweed or other ingredients.
Recommended Product to Make Soy Sauce
How to Make Homemade Shoyu Soy Sauce
Ingredients
・ Soybeans 1 kg
・ All-purpose flour 200 g
・ Koji Starter 8-10 g
・ Salt 1 kg
・ Water 2 Liters
Important note for Koji:
・Use the appropriate koji for making Shoyu.
・Feel free to replace the above product with any white koji starter spores for this recipe, such as Hishiroku Koji Starter.
What you need:
・ Bowl, colander
・ Koji fermenter
・ Pressure Cooker or Pot for boiling soybeans
・ Thermometer
・ Microwave oven
・ Glass container
Step-by-Step guide
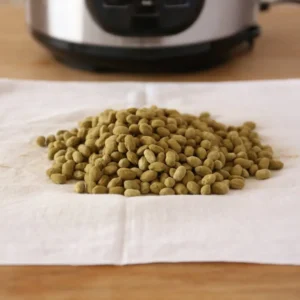
Step 1: Soak the soybeans
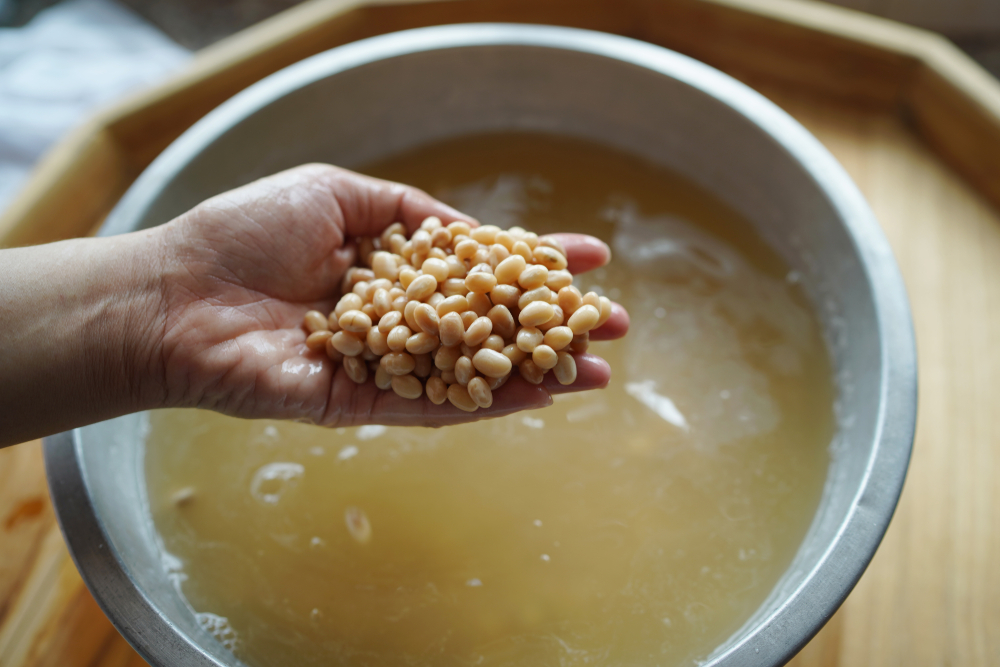
Gently wash the soybeans until the water is clear of impurities. This step is necessary to prevent propagation of germs in the later procedures. Now soak soybeans in water for about 16 to 20 hours depending on the temperature. When the soybeans exhibit the following features, it is ready to move on to Step 2:
・No wrinkles on the surface
・Glossy and plump look
・When divided in half, the color of the cross section is even
・The weight is 2.2 to 2.4 times more than the original weight
・The beans are about twice as large
Step 2: Boil the soybeans

For cooking with pressure cooker, boil soybeans for 60 minutes and let sit. As an estimate, 1 kg of soybeans corresponds to 3 batches of cooking.
For cooking with pot, combine 3 cups of fresh water and soybeans into a pot and bring to a boil. Once the water boils, reduce heat to simmer. Remove bubbles forming on the surface from time to time. Cook for 10 hours or until tender and partially removed from their pods. Replenish water when they reduce.
Important note:
・Be careful to remove all water content from the soybeans
・Warm soybeans are easily damaged. Allow soybeans to cool down quickly in a cool and dry place.
・If the water is drained well, the soybeans will not turn sticky.
Step 3: Cool the soybeans
Drain the water and allow soybeans to cool until temperature drops below 35°C/95°F . Once the soybeans are cooled to 35°C/95°F, transfer them to a large bowl.
Important note:
・Be careful to remove all water content from the soybeans
・Warm soybeans are easily damaged. Allow soybeans to cool down quickly in a cool and dry place.
・If the water is drained well, the soybeans will not turn sticky.
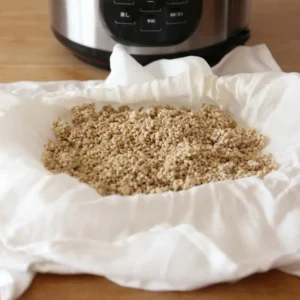
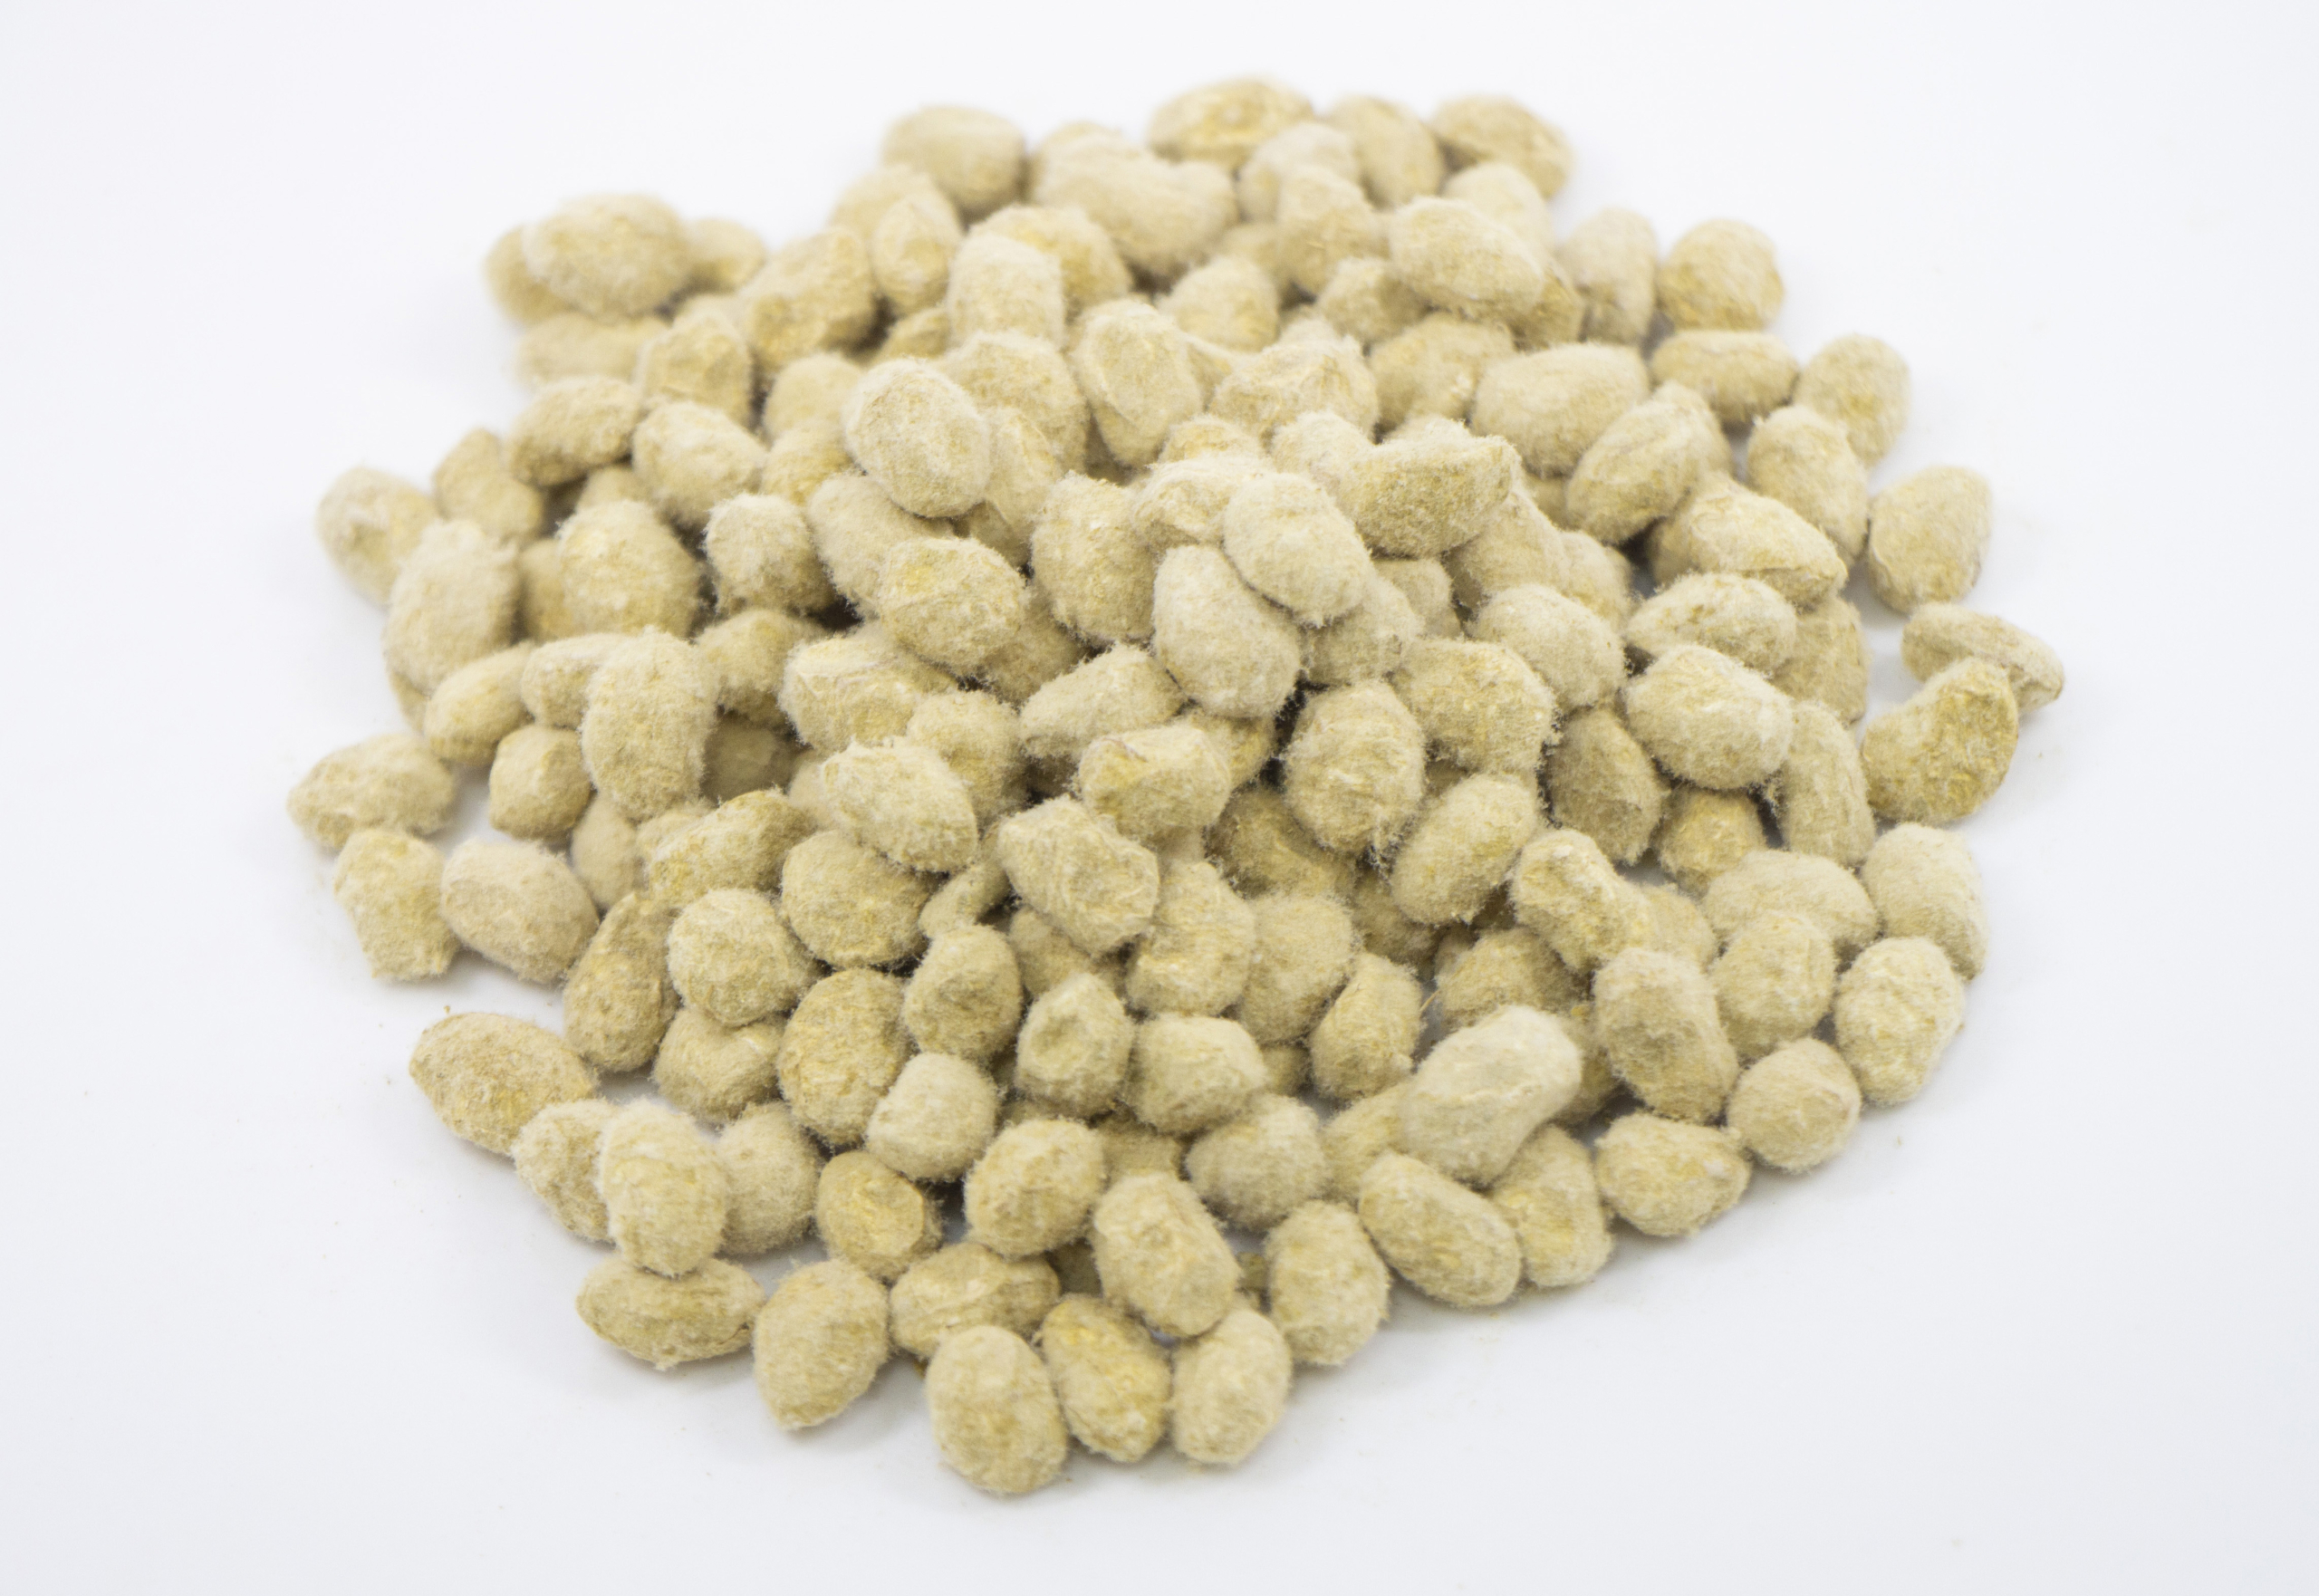
Step 4: Coating flour and koji starter
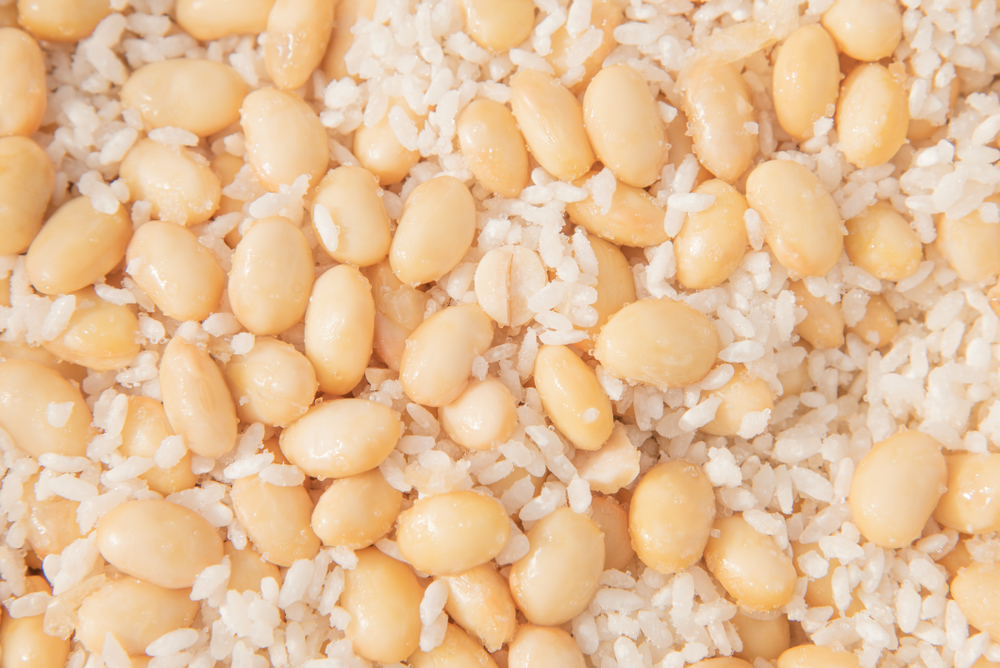
Combine all-purpose flour and koji starter. Sieve using colander and mix well with spoon. Now, mix the ingredients from Step 3 and Step 4. Be sure no excess water is dripping from the soybeans at this point.
Step 5: Keep the soybeans warm
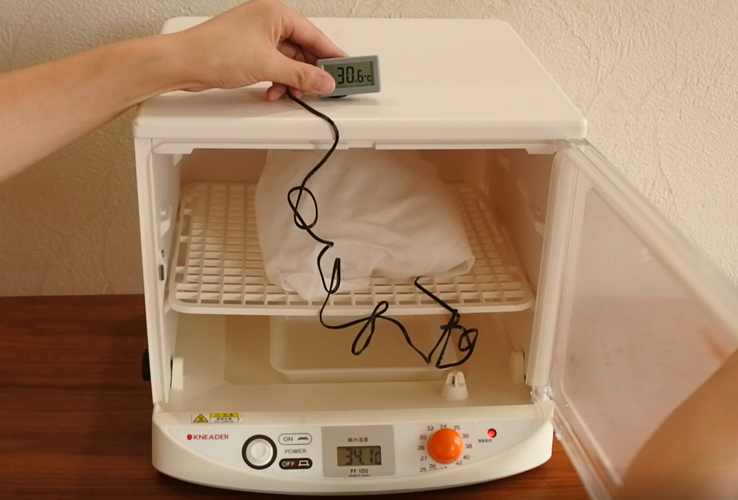
The soybeans are now ready for pasteurization. Transfer them into a koji fermenter for 18-20 hours. The targeted soybean temperature is 35-40°C/95-104°F. Depending on the situation of koji starter, the temperature may exceed 40℃/104°F in several hours after the start of warming. In this case, swiftly remove the soybeans from the fermenter and allow slight cooling.
Step 6: Check condition of soybeans
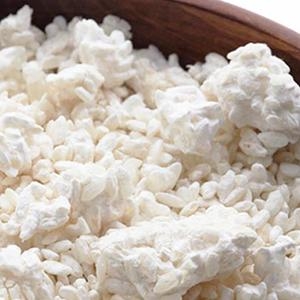
After about 10-15 hours, use hand gloves to loosen the soybean for oxygenation and remove any lumps. You will realize a sweet scent exhibiting from the mixture. The soybeans will continue to release heat. When they reach 40°C/104°F, we will begin the second stage of warming. Transfer the soybeans into the oven.
Step 7: Second round of warming
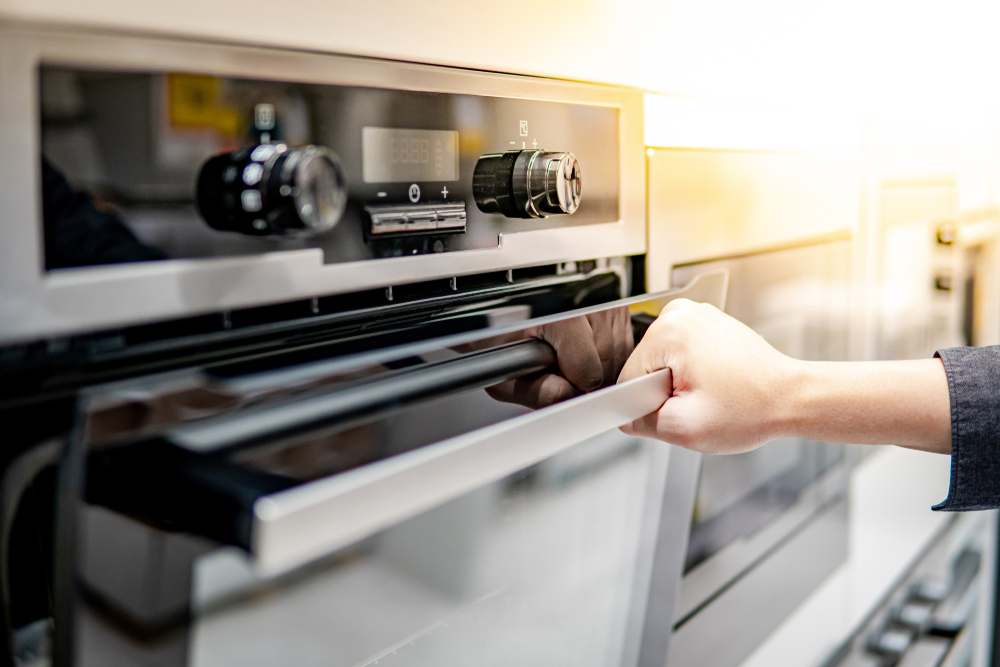
Arrange and spread the soybeans on a baking tray. Leave them inside the oven and attach a small cloth at the oven door to prevent water droplets from forming. You do not need to turn the oven on. For the second round of warming, keep the temperature above 40℃/104°F for 6 hours. Usually, it takes approximately 45 hours from the start of first warming to the completion of shoyu koji. The optimal temperature for koji starter to propagate is at 35-40℃/95-104°F . Depending on the season, temperature of the room, and the amount of koji starter being used, conditions may differ. Please set the temperature of fermentation device between 32-42℃/89-107°F, and keep watch.
Step 8: Prepare salt water
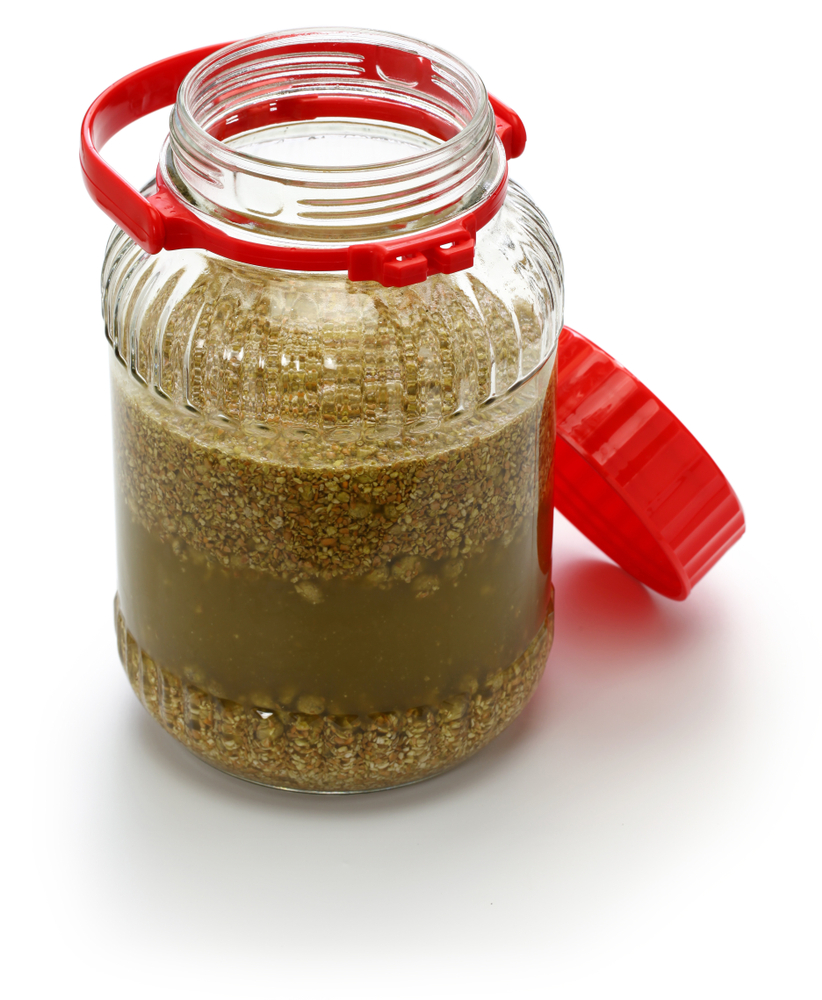
When green soy sauce aspergillus gradually increases, Shoyu koji is complete! Now let’s prepare salt water by combining 300 ml of water and 1 kg of salt into a storage jar and shake well. Next, mix Shoyu koji with the salt water to produce moromi (mash of unmatured soy sauce). For 1 kg worth of soybeans, use a 4 liter jar.
Step 9: Fermentation process
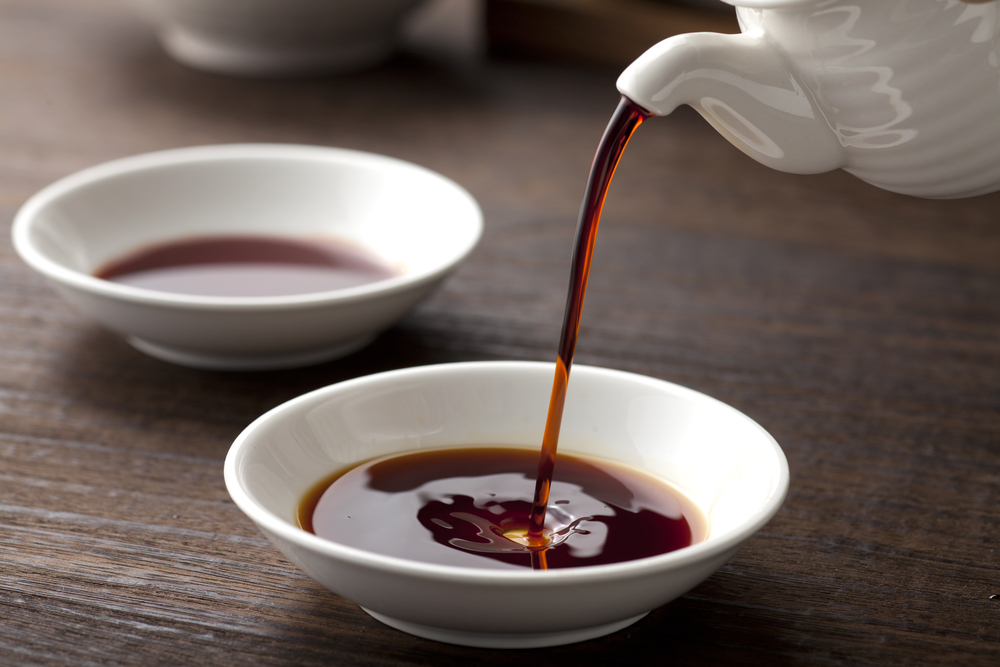
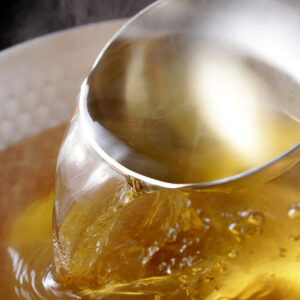
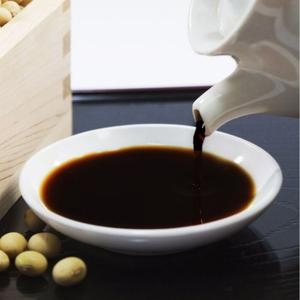
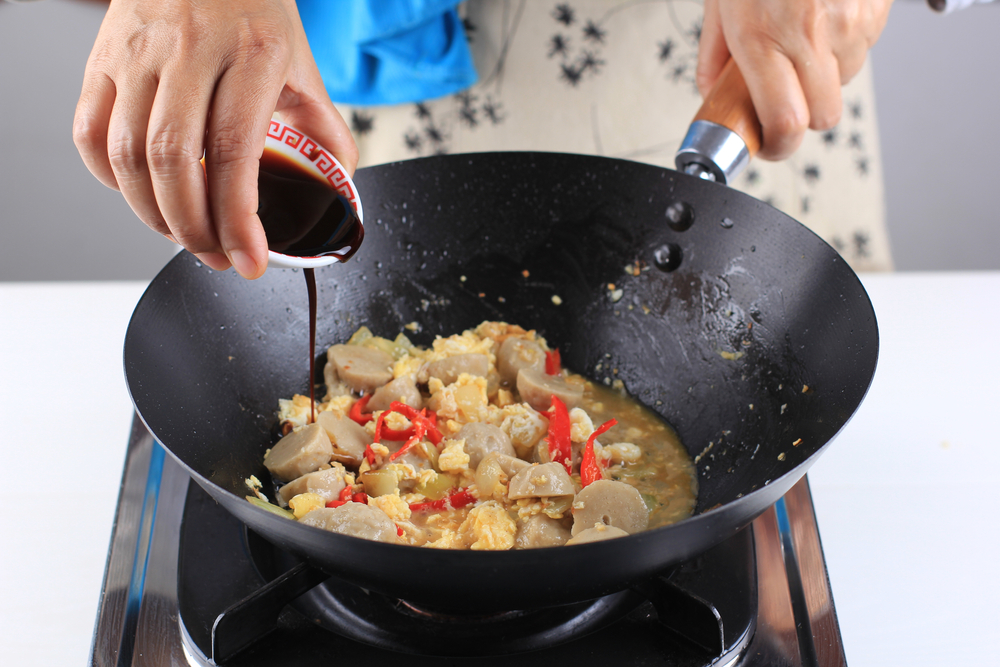
With the remaining 1.7 litre of water, add to the product in Step 8 gradually. Then, leave the moromi for fermentation for 6 months to 2 years. Stir the mixture daily. When the soybean has completely dissolved, strain the mixture with cheesecloth into bottles for storage. The result is a fruity and aromatic soy sauce.
Important note:
・The moromi is prone to disintegrate and breakdown once it is prepared, so store them in a cool and dark place.
・It is also recommended not to move the mixture around but leave it to ferment in the same place.
Here’s a guide to making shoyu at Home!
Homemade Shoyu Soy Sauce
Instructions
- Gently wash the soybeans until the water is clear of impurities. This step is necessary to prevent propagation of germs in the later procedures. Now soak soybeans in water for about 16 to 20 hours depending on the temperature. When the soybeans exhibit the following features, it is ready to move on to Step 2.
- For cooking with pressure cooker, boil soybeans for 60 minutes and let sit. As an estimate, 1 kg of soybeans corresponds to 3 batches of cooking.For cooking with pot, combine 3 cups of fresh water and soybeans into a pot and bring to a boil. Once the water boils, reduce heat to simmer. Remove bubbles forming on the surface from time to time. Cook for 10 hours or until tender and partially removed from their pods. Replenish water when they reduce.
- Drain the water and allow soybeans to cool until temperature drops below 35°C. Once the soybeans are cooled to 35°C, transfer them to a large bowl.
- Combine all-purpose flour and koji starter. Sieve using colander and mix well with spoon. Now, mix the ingredients from Step 3 and Step 4. Be sure no excess water is dripping from the soybeans at this point.
- The soybeans are now ready for pasteurisation. Transfer them into a koji fermenter for 18-20 hours. The targeted soybean temperature is 35-40°C. Depending on the situation of koji starter, the temperature may exceed 40℃ in several hours after the start of warming. In this case, swiftly remove the soybeans from the fermenter and allow slight cooling.
- After about 10-15 hours, use hand gloves to loosen the soybean for oxygenation and remove any lumps. You will realise a sweet scent exhibiting from the mixture. The soybeans will continue to release heat. When they reach 40°C, we will begin the second stage of warming. Transfer the soybeans into the oven.
- Arrange and spread the soybeans on a baking tray. Leave them inside the oven and attach a small cloth at the oven door to prevent water droplets from forming. You do not need to turn the oven on. For the second round of warming, keep the temperature above 40℃ for 6 hours. Usually, it takes approximately 45 hours from the start of first warming to the completion of shoyu koji. The optimal temperature for koji starter to propagate is at 35-40℃. Depending on the season, temperature of the room, and the amount of koji starter being used, conditions may differ. Please set the temperature of fermentation device between 32-42℃, and keep watch.
- When green soy sauce aspergillus gradually increases, Shoyu koji is complete! Now let’s prepare salt water by combining 300 ml of water and 1 kg of salt into a storage jar and shake well. Next, mix Shoyu koji with the salt water to produce moromi. For 1 kg worth of soybeans, use a 4 litre jar.
- With the remaining 1.7 litre of water, add to the product in Step 8 gradually. Then, leave the moromi for fermentation for 6 months to 2 years. Stir the mixture daily. When the soybean has completely dissolved, strain the mixture with cheesecloth into bottles for storage. The result is a fruity and aromatic soy sauce.
How to Store Homemade Shoyu
The longer shoyu ferments, the stronger the flavor gets. On top of pasteurizing shoyu to prevent bacteria from propagating, homemade shoyu needs to be stored well especially during fermentation process. Once the homemade shoyu is ready for consumption, it is necessary to store them with care in a tight lid container in the refrigerator. This is done not only to retain the freshness and longevity of product, but also to fend off the process of oxidation due to contact with air. Therefore, homemade shoyu must be kept closed and stored in a cool, dark place to prevent the growth of yeast.
Discard Shoyu if:
・ Visible impurities or mold is forming in the Shoyu
・ Smell has gone bad
Why Homemade Shoyu?
While most Japanese cuisine uses soy sauce for its defining taste, some may not be able to enjoy it due to the soy and the gluten contents. Soy is known to be a common allergen, particularly among children although they seem to outgrow soy allergy when they get older. In some cases, allergy to soy continues into adulthood. Those with gluten intolerance may also find it difficult to incorporate the goodness of shoyu in their everyday diet. Thankfully, we can substitute commercially available Shoyu with homemade shoyu. Here is the step-by-step guide!
Frequently Asked Questions About Homemade Shoyu
Recommended Products to Make Shoyu
Recommended Shoyu Products
Buy on Amazon USA

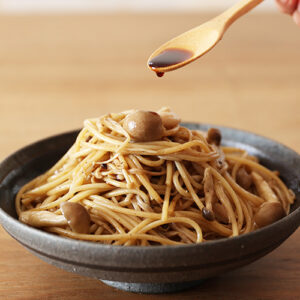
Kawashimaya Organic Shoyu 13.8 fl oz (410ml)
High-quality organic Japanese shoyu soy sauce: Barrel-aged for over one year・Additives-free・Made from 3 ingredients・Umami packed・100% Made in Japan. The versatile umami condiment for sushi, stir-fries, meat, pasta, eggs, tofu, vegetables, and more. Just a tiny amount can elevate any dish.